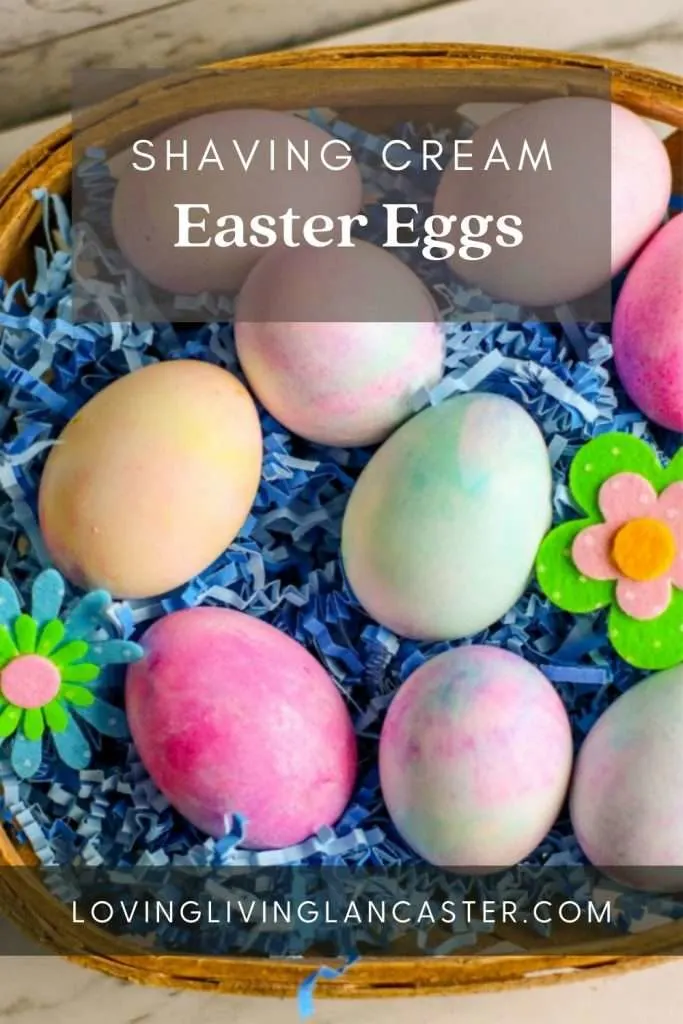
Shaving Cream Easter Eggs
Last Updated on February 13, 2024 by Allison Lancaster
One of the most magical things about raising children is getting to see things through their eyes. All the fun colors, sights, and sounds that accompany everyday life is just amazing. Imagine how much fun it is to see the excitement on their faces when you make rainbow shaving cream eggs for Easter together!
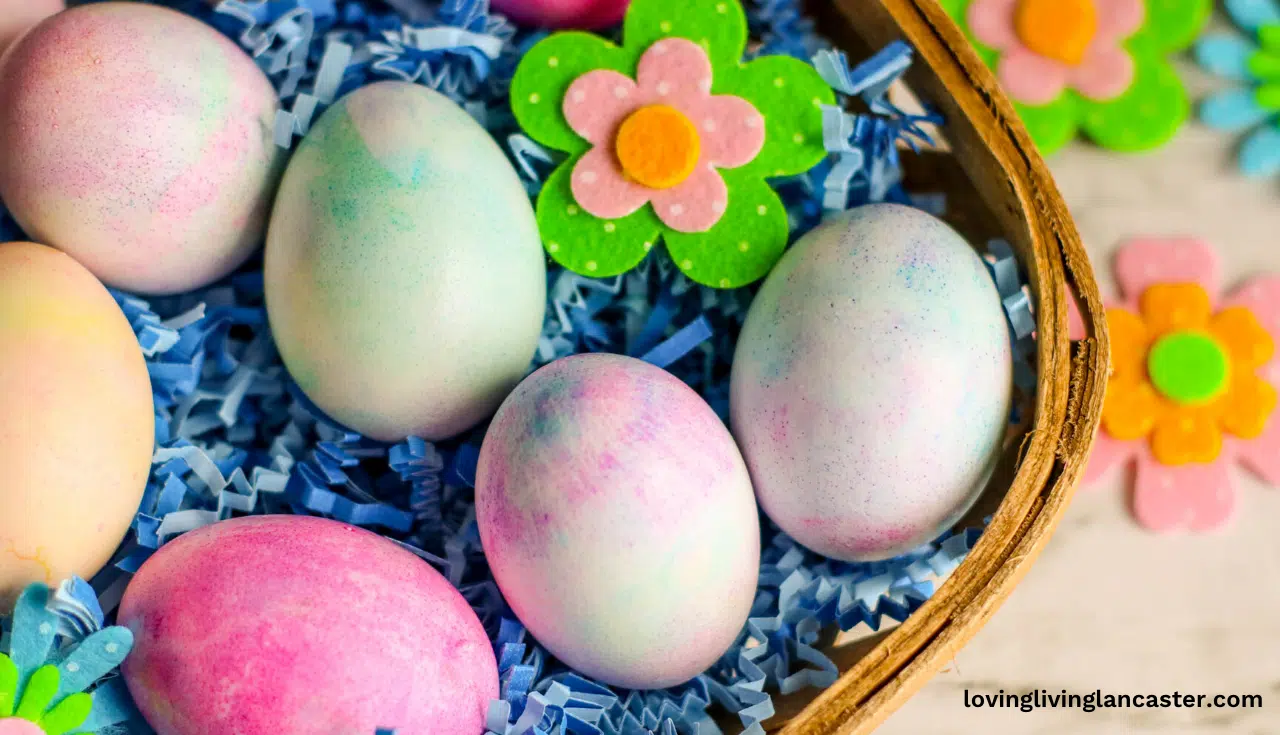
Table of Contents
Encouraging discovery and incorporating learning every day is a goal in our house. Putting those goals into crafts, recipes, and activities during the Easter holiday makes it even more fun!
These easy DIY shaving cream Easter eggs are an easy craft activity that kids can do with a little help from an adult. You can use the activity to teach colors, talk about rainbows, spring, and talk about Easter if you’d like as well.
Using shaving cream to dye the Easter eggs will make the eggs nonedible. They can be used as a special decoration for your dining room table for Easter lunch or brunch, or so many ways even though they aren’t edible.
However, if you would like to still eat the hardboiled colored eggs, simply use whipped topping like Cool-Whip or Reddi-Wip instead of shaving cream. This also helps when the kids get the fluff on their hands and certainly tastes better!
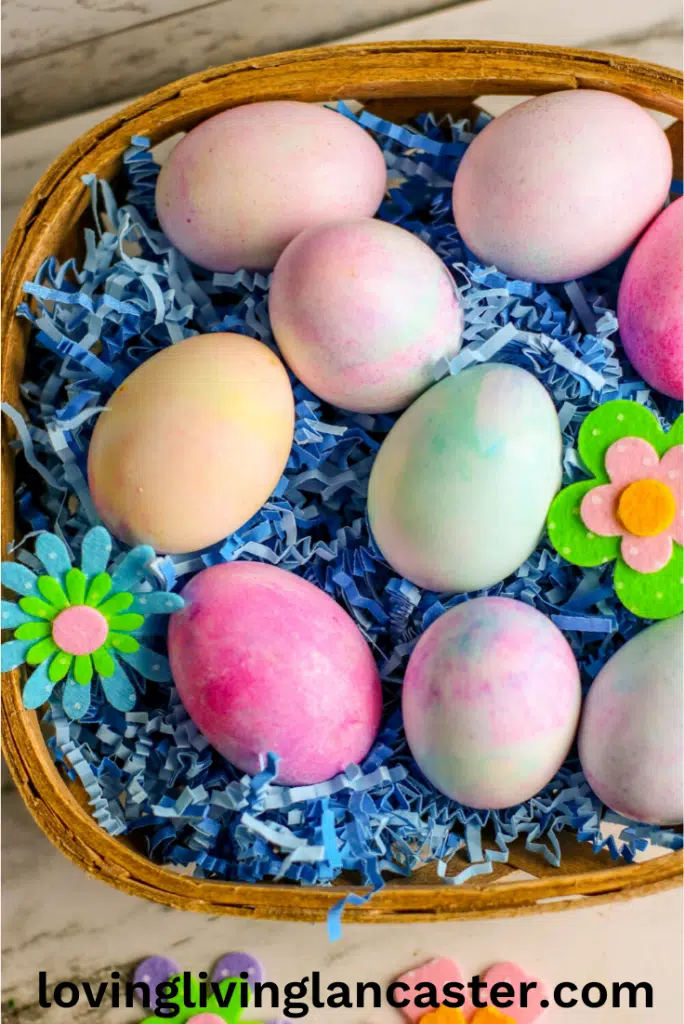
This project is quick and simple to put together. Notice we didn’t say clean? If you’re using shaving cream (vs. Cool-whip) everything is a bit easier to keep clean if you use rubber gloves and swirl the colors with a popsicle stick or toothpick.
If you opt for Cool Whip Easter eggs and the kids know it’s yummy whipped cream topping, you may want to give them a shirt you don’t mind getting messy or an apron to cover their clothes.
Shaving Cream Easter Eggs Supplies & Substitutions:

Boiled eggs – The egg shells of the eggs must be left on for this craft.
Shaving cream – Any brand will work! I suggest using the cheapest brand you can find for this craft.
Food coloring – I’ve used red, blue, yellow, green, and purple colors for a rainbow effect. You can also use other colors of regular food dye for this craft.
Bamboo skewers – Toothpicks can also be used to swirl the colored shaving cream.
Muffin tin – You can use a container for each color instead.
Plastic gloves and apron – Optional but highly suggested
How To Make Shaving Cream Easter Eggs
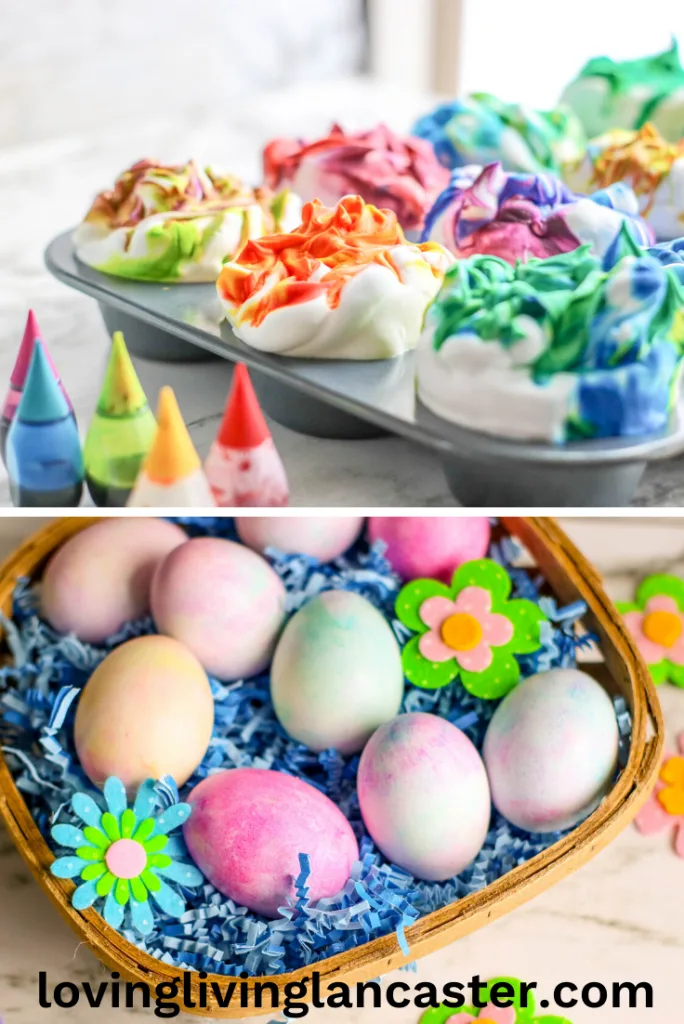
- Prepare a muffin tin with shaving cream or whipped topping in each well. Top with liquid food coloring and swirl slightly.
- Place one whole egg in each well and turn to coat. Remove and place on paper plates or a baking sheet or cookie sheet lined with a paper towel. Allow the colored hard-boiled eggs to rest for 20 to 30 minutes.
- Remove excess shaving cream by rinsing the hard boiled eggs with cold water, being careful not to rub the eggs as it may remove the color.


How to Store Easter Eggs
Boiled eggs will go bad if left out at room temperature. Store your eggs in the fridge, and bring them out to decorate as needed. Place them back in the fridge, not leaving them out for more than an hour or so.
Storing the eggs in the fridge is particularly important if you have opted to use edible whipped topping and plan on eating the hard boiled eggs.
If you’re using them to decorate your table, they can’t be left out at room temperature for more than 2 hours total. Whether you use the shaving cream method or the whipped topping method, they won’t be safe to eat at all. Better safe and toss them than to risk getting sick.
Assuming you leave the hardboiled eggs in the refrigerator after you make them, they should be good for up to 1 week!
Craft FAQ’s:
Are these Easter crafts edible?
No. The shaving cream is what makes these Easter eggs nonedible. If you are making these Easter eggs with younger children, consider using Cool Whip or Reddi-Wip as an edible alternative to shaving cream. The hard-boiled eggs are themselves, an edible part of this activity.
What can I do with these shaving cream Easter Eggs?
These colorful Easter eggs can be used as a fun way to add decoration to the dining table for your Easter weekend celebrations. They can also be purely for educational purposes, teaching little kids about different colors or as a fun Easter activity to keep your kids busy and entertained over the Easter weekend and building up to Easter.
Use these eggs on Easter morning for a fun Easter egg hunt!
How do you get that marbled look?
Adding drops of the food coloring on top of the shaving cream and then lightly swirling it with a bamboo skewer or toothpick will result in a marbled effect.
What type of eggs work best for this craft?
White eggs are best as they’ll result in the most vibrant colors from the gel shaving cream. Apart from the type of egg, you could use hard boiled eggs or eggs that have been blown hollow. I’ve opted to use hard-boiled eggs as it’s easier to prepare and the eggs are less fragile for decorating by those little hands!
What happens if I leave the eggs submerged in the shaving cream for longer?
Leaving the eggs for longer in the shaving cream will intensify the brightness of the colors from this shaving cream method. There’s no perfect way to dye these eggs. It’s best to leave the eggs coated in the foam shaving cream until they are dry. You could also intensify the color of the eggs by adding more drops of food coloring to the muffin tins.
How should I prepare the eggs for this craft?
Once the eggs have been boiled, allow them to cool completely. Next, place the eggs in a large bowl of white vinegar and allow them to soak for about 20 minutes. The vinegar will help the gel food coloring to stick to the shells better.
More Fun Ways to Celebrate Easter
- 20 Easter Basket Ideas Your Little Girl Will Love
- Easter Basket Ideas for Toddler Boys
- Peeps Cupcakes
- Easy Deviled Eggs Recipe
- Easter Mini Bundt Cake Recipe
- Easter Sugar Cookies
I hope you enjoy this fun craft for shaving cream Easter Eggs! If you try it, please come back and leave me a comment letting me know how you liked it. And if you have any questions, please feel free to ask! I love hearing from you!
Shaving Cream Easter Eggs Craft:

Shaving Cream Easter Eggs
These gorgeous shaving cream eggs are so much fun to make. Get creative and mix up colors, swirl them together, or just use one color that the kids love. Happy Decorating!
Ingredients
- Boiled eggs - The egg shells of the eggs must be left on for this craft.
- Shaving cream
- Food coloring - I've used red, blue, yellow, green, and purple colors for a rainbow effect. You can also use other colors of regular food dye for this craft.
- Bamboo skewers - Toothpicks can also be used to swirl the colored shaving cream.
- Muffin tin - You can use a container for each color instead.
- Plastic gloves and apron - Optional.
Instructions
- Prepare a muffin tin with shaving cream or whipped topping in each well. Top with liquid food coloring and swirl slightly.
- Place one whole egg in each well and turn to coat. Remove and place on paper plates or a baking sheet or cookie sheet lined with a paper towel.
- Allow the colored hard-boiled eggs to rest for 20 to 30 minutes.
- Remove excess shaving cream by rinsing the hard boiled eggs with cold water, being careful not to rub the eggs as it may remove the color.

