Brownie Cheesecake Bars
Last Updated on June 29, 2025 by Allison Lancaster
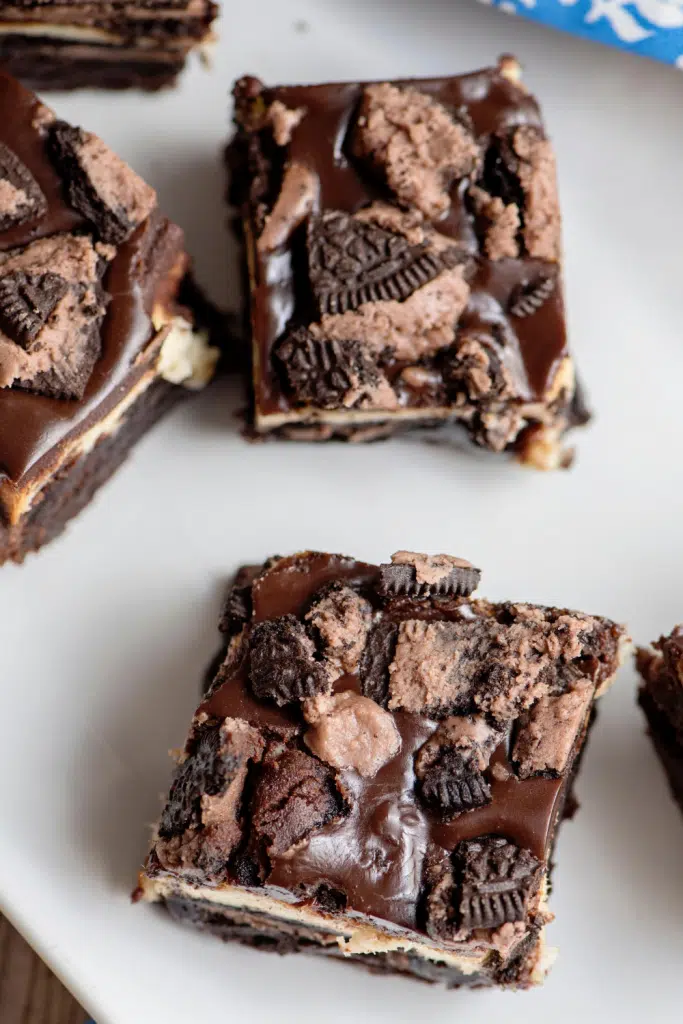
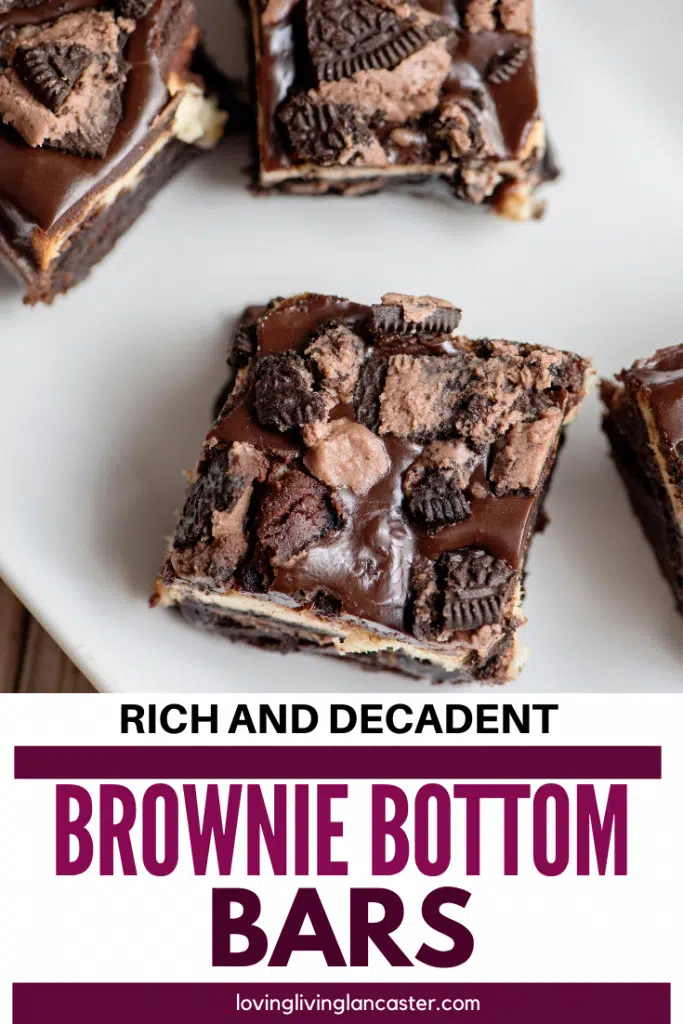
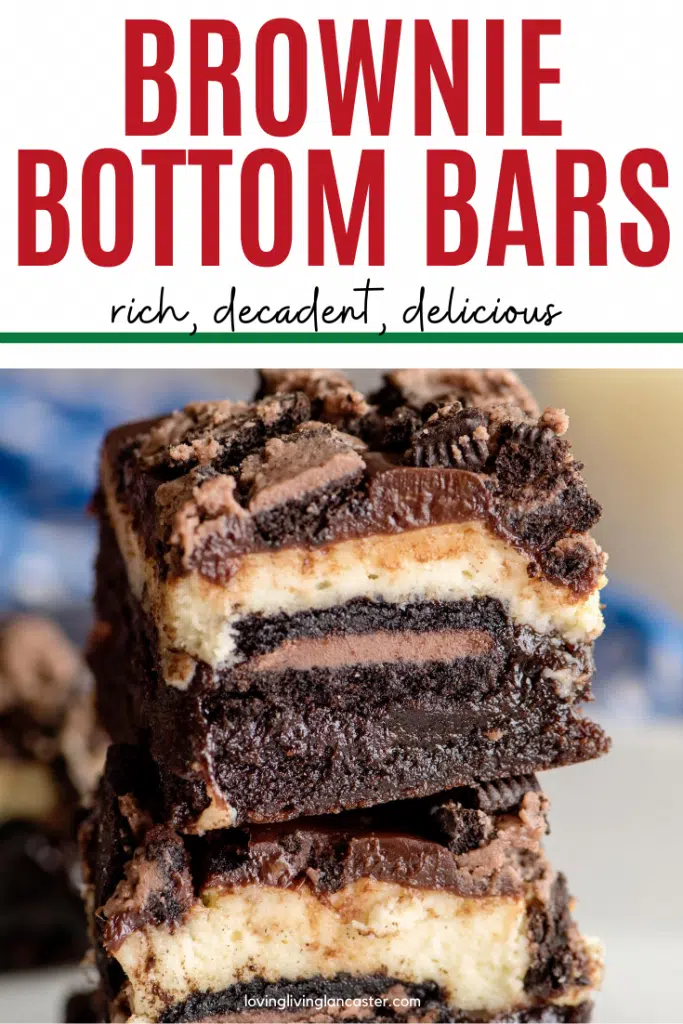
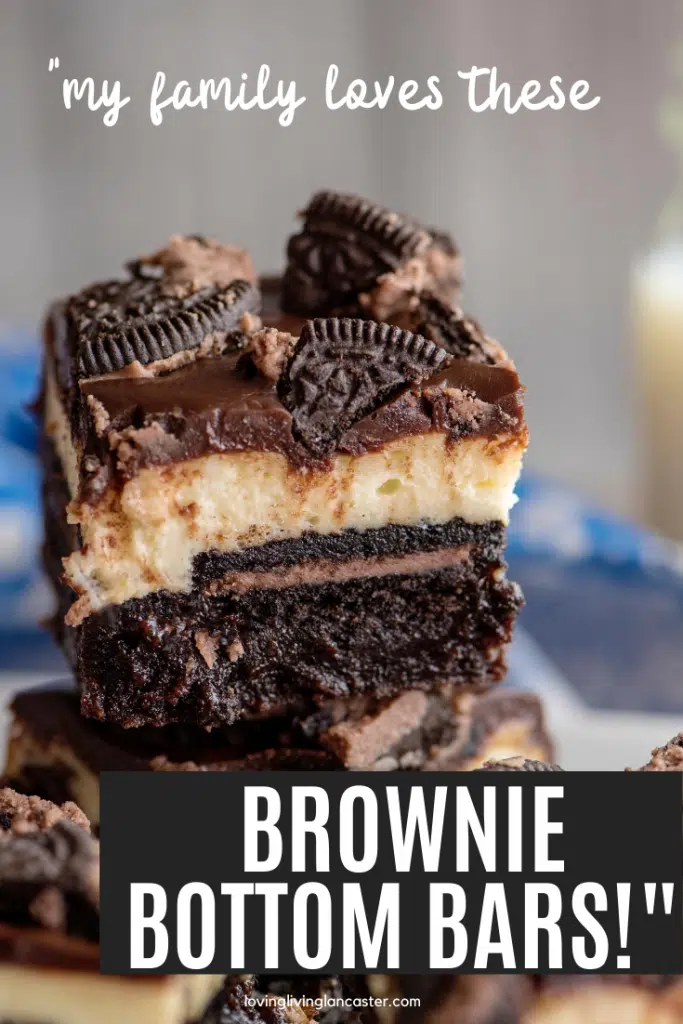
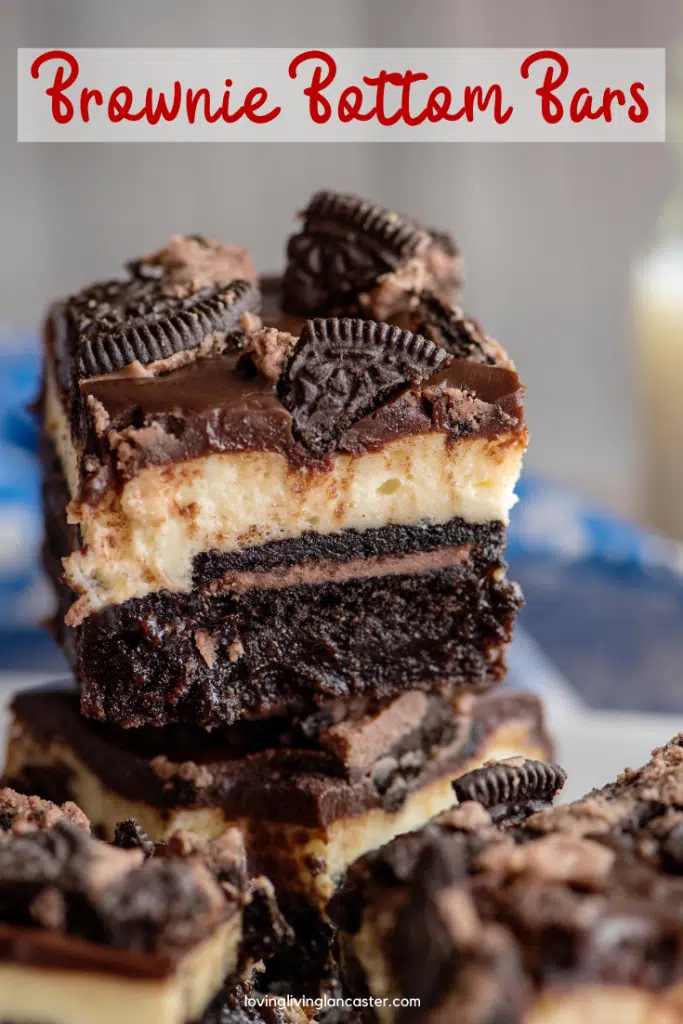
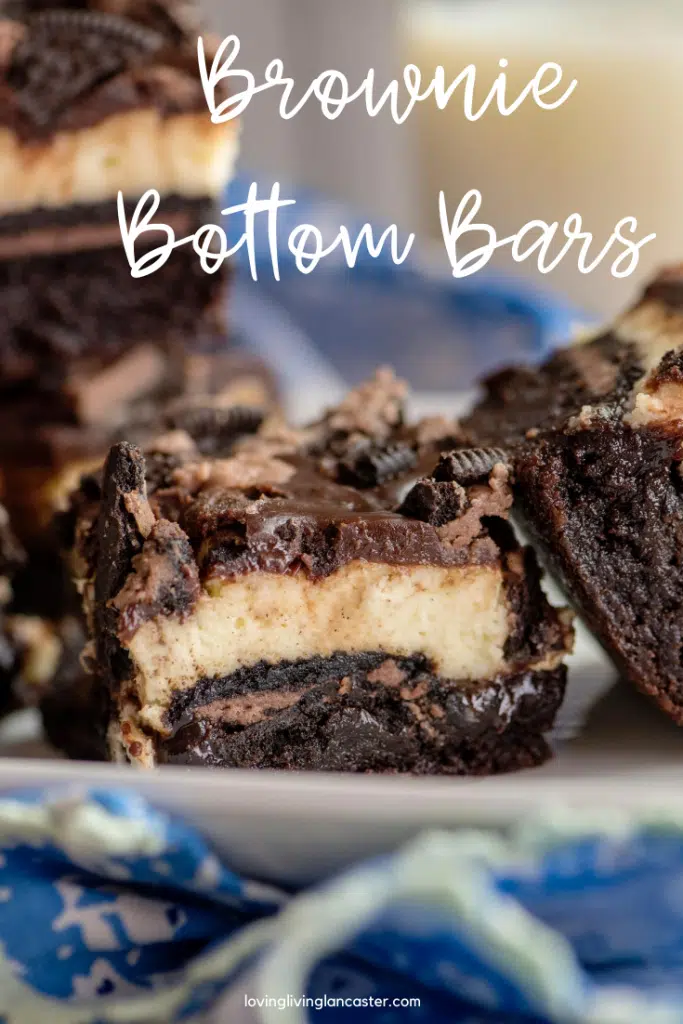
These Brownie Cheesecake Bars feature a rich brownie base, a smooth cheesecake center, and an Oreo-studded chocolate ganache topping. A tested and reliable dessert bar recipe that’s perfect for parties, gifting, or any time you want to impress with layered decadence.
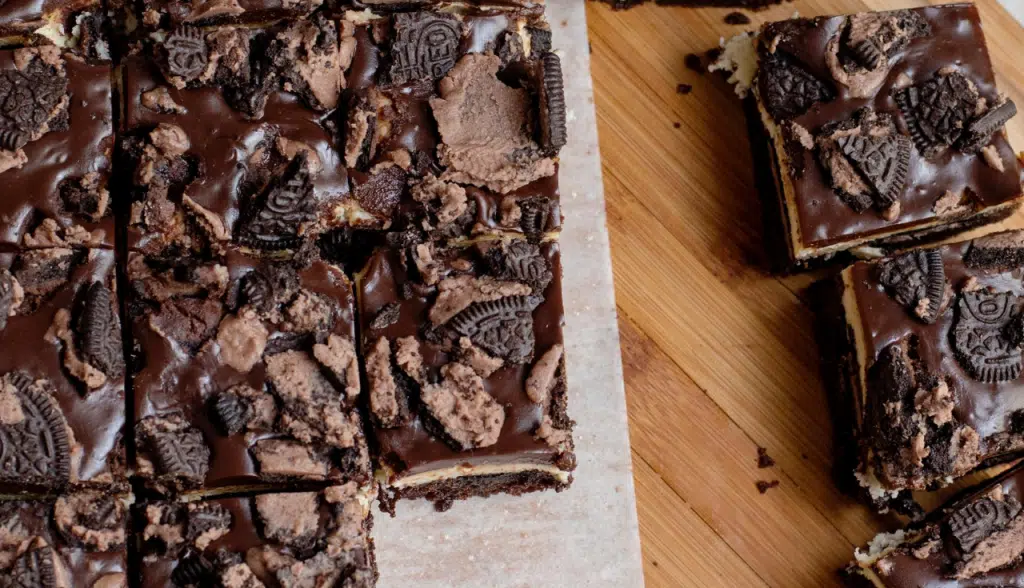
Let me tell you something from one mom to another….if you’ve ever been caught scrambling to make a dessert for school parties, bake sales, or just a midweek sweet craving, these Brownie Cheesecake Bars will save the day.
They’re rich, creamy, chocolatey, and full of kid-approved Oreo crunch. Best of all, they’re made with ingredients I almost always have on hand: boxed brownie mix, cream cheese, a few pantry staples, and of course, a pack of Oreos that I try to keep hidden from little snackers.
These are the kind of cheesecake brownie bars I love making for my family because they feel indulgent and bakery-style, but they’re really easy to throw together in between loads of laundry or during nap time.
Why These Brownie Cheesecake Bars Work for Busy Families
As a mom, I need desserts that check three boxes: easy, reliable, and crowd-pleasing. These bars hit all three and then some.
- Start with a box brownie mix to save time
- No water bath or complicated baking techniques required
- Chill time does the hard work while you move on to other things
- Make-ahead friendly and perfect for slicing and storing
- Great for gatherings like cookouts, church events, and family movie night
If you’ve been searching for the perfect Oreo cheesecake brownie bars, this is it. I’ve made these for birthdays, game nights, holidays, and random Tuesdays….and they’re always gone by the end of the night.
Ingredients You’ll Need
This recipe comes together with a mix of store-bought and fresh ingredients. You can customize some of the components (more on that below), but here’s what I use:
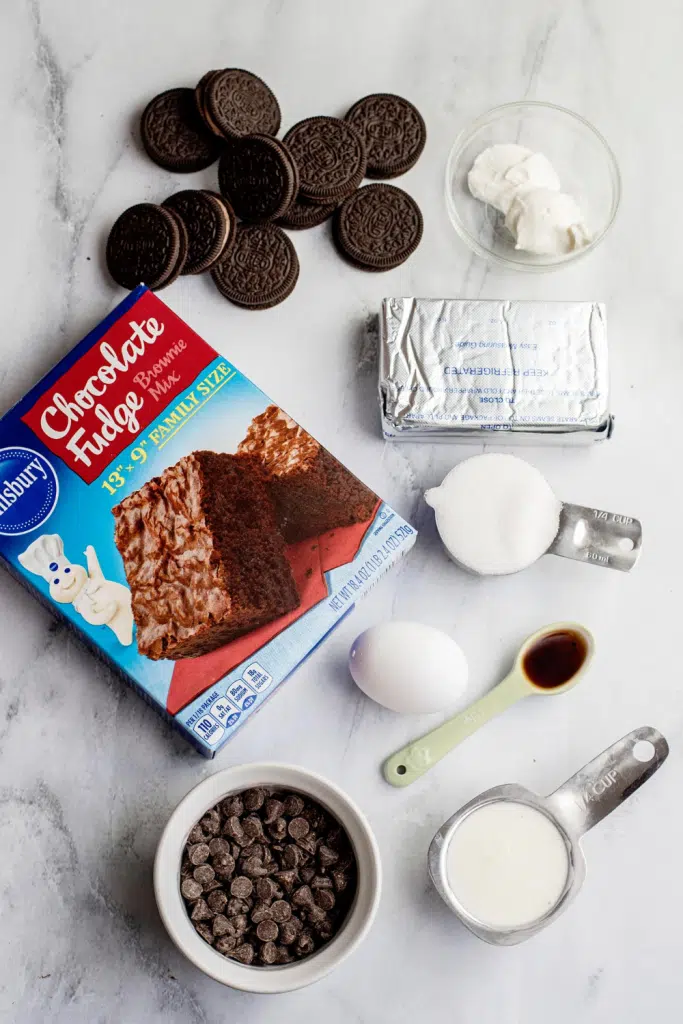
- 1 box brownie mix (plus ingredients listed on the box….usually eggs, oil, and water)
- 16 Oreo cookies, chopped
- 16 oz cream cheese, softened to room temperature
- 2 large eggs
- 1 tsp vanilla extract
- ½ cup granulated sugar
- ⅓ cup sour cream
- ½ cup semi-sweet chocolate chips
- ⅓ cup heavy whipping cream
I love the flexibility of this recipe. You can use Classic Oreos, Chocolate Creme, Mint, or Double Stuf Oreos. Whatever’s in your pantry will probably work just fine.
Step-by-Step: How to Make Brownie Cheesecake Bars
This recipe has three layers: brownie, cheesecake, and chocolate topping, but don’t let that intimidate you. Each one is simple and comes together quickly.
Step 1: Bake the Brownie Layer
- Preheat your oven.
- Line a 9×13-inch baking dish with parchment paper or spray with cooking spray for easier cleanup.
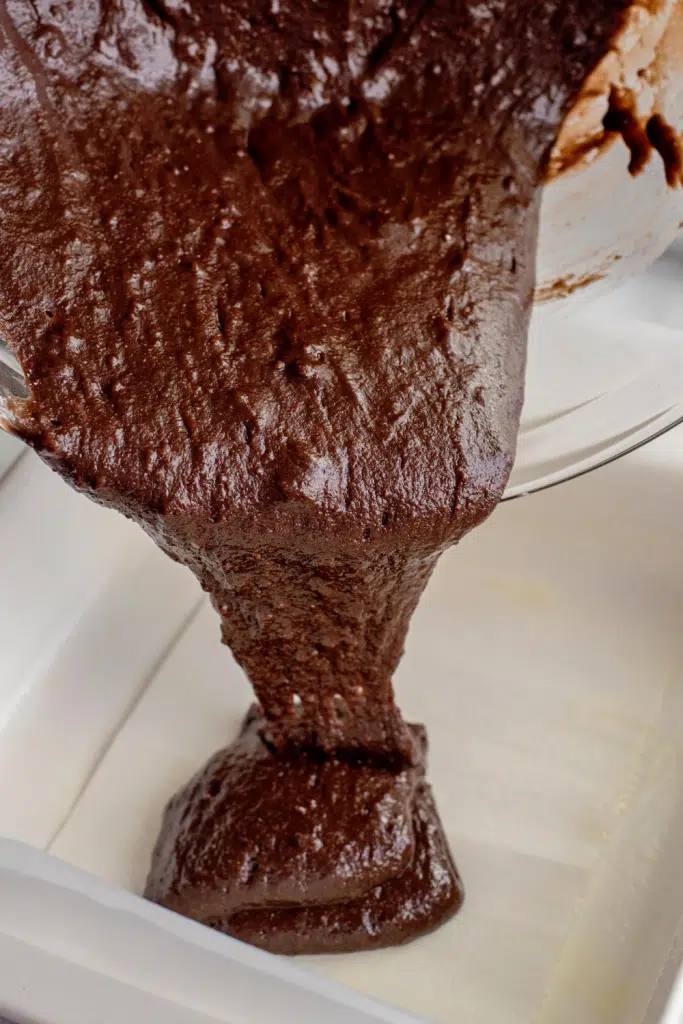
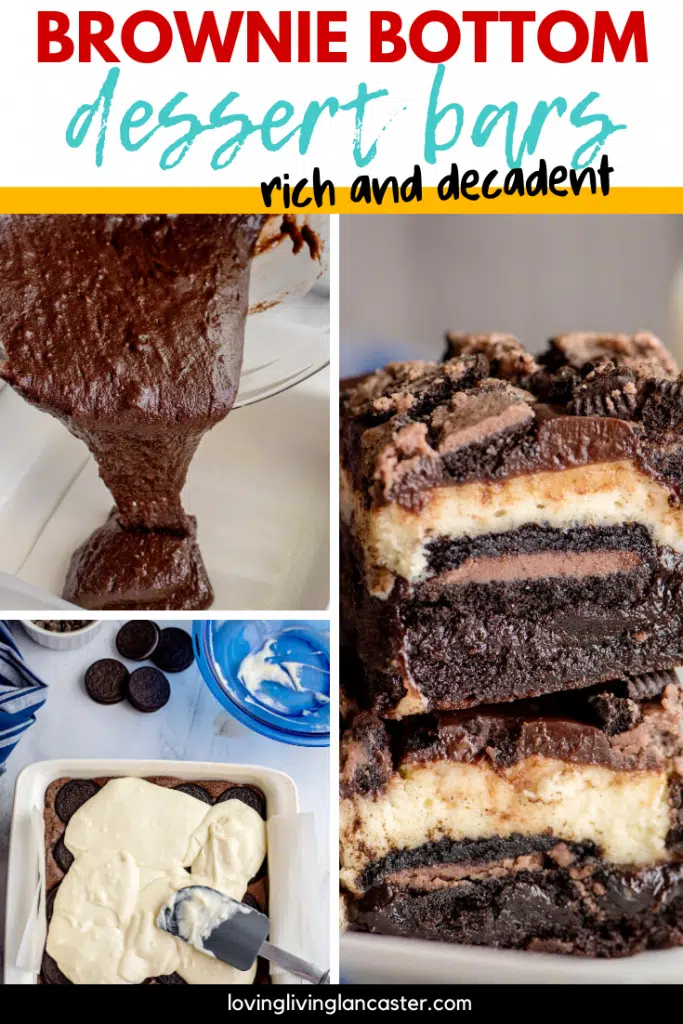
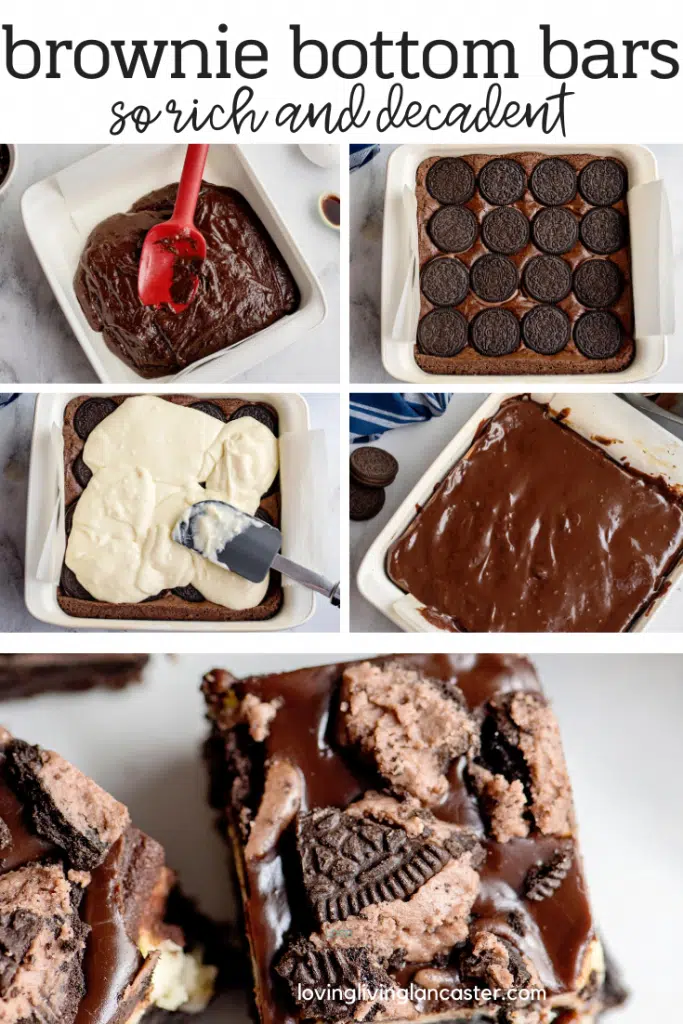
- Prepare the brownie mix according to package directions. Pour the batter into the pan.
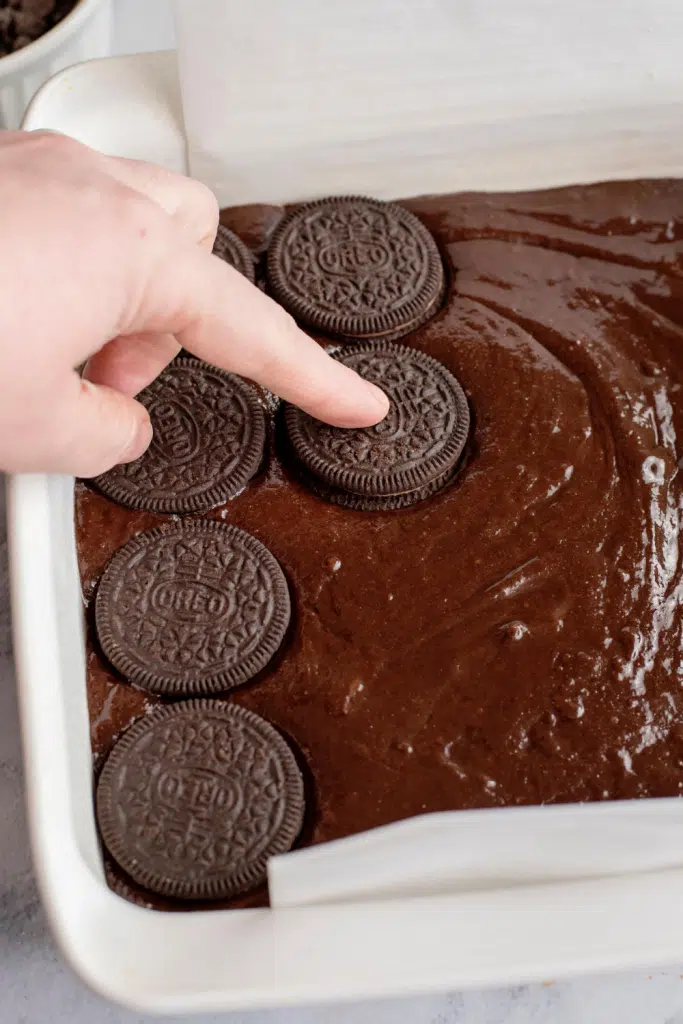
- Press half of the chopped Oreos into the brownie batter.
- Bake. The top should be set but soft. You’re only partially baking here since the bars will go back in the oven with the cheesecake layer.
Let the brownies cool slightly while you prepare the cheesecake mixture.
Step 2: Make the Cheesecake Layer
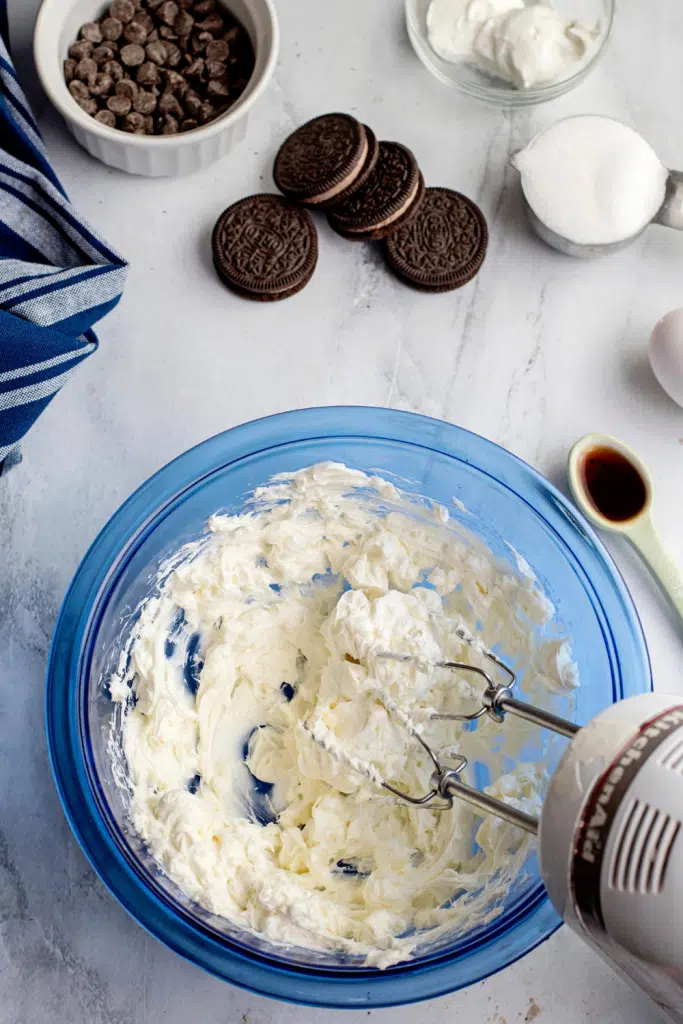
- In a large bowl, use a hand mixer or stand mixer to beat the softened cream cheese until smooth.
- Add the sugar, eggs, and vanilla extract. Beat until well combined.
- Mix in the sour cream until the filling is creamy and lump-free.
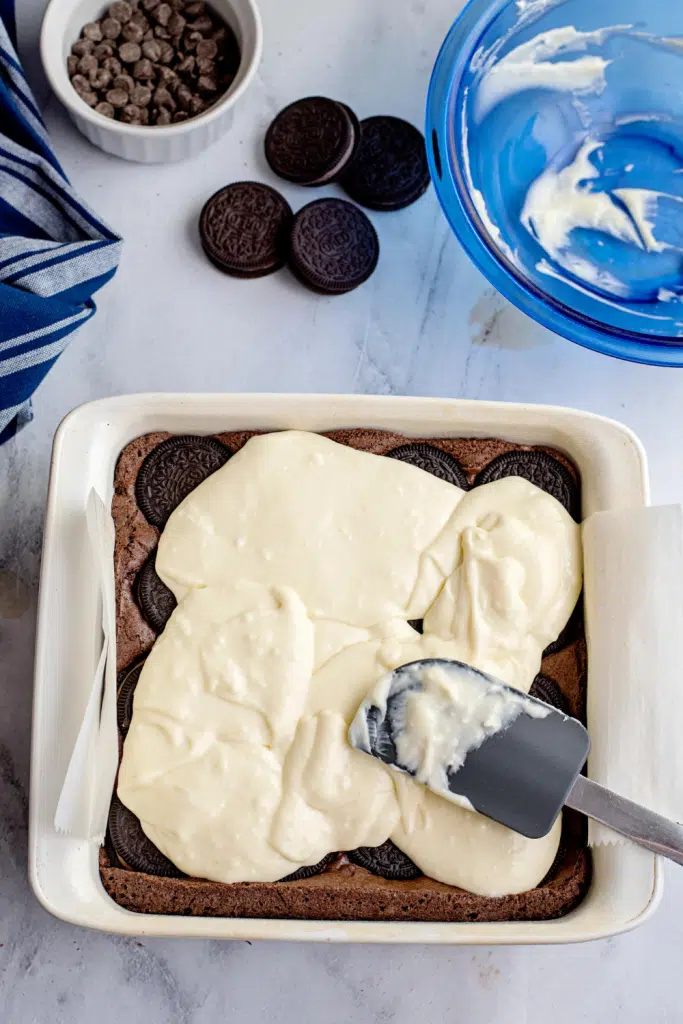
- Pour the cheesecake mixture over the partially baked brownie base. Spread into an even layer with a spatula.
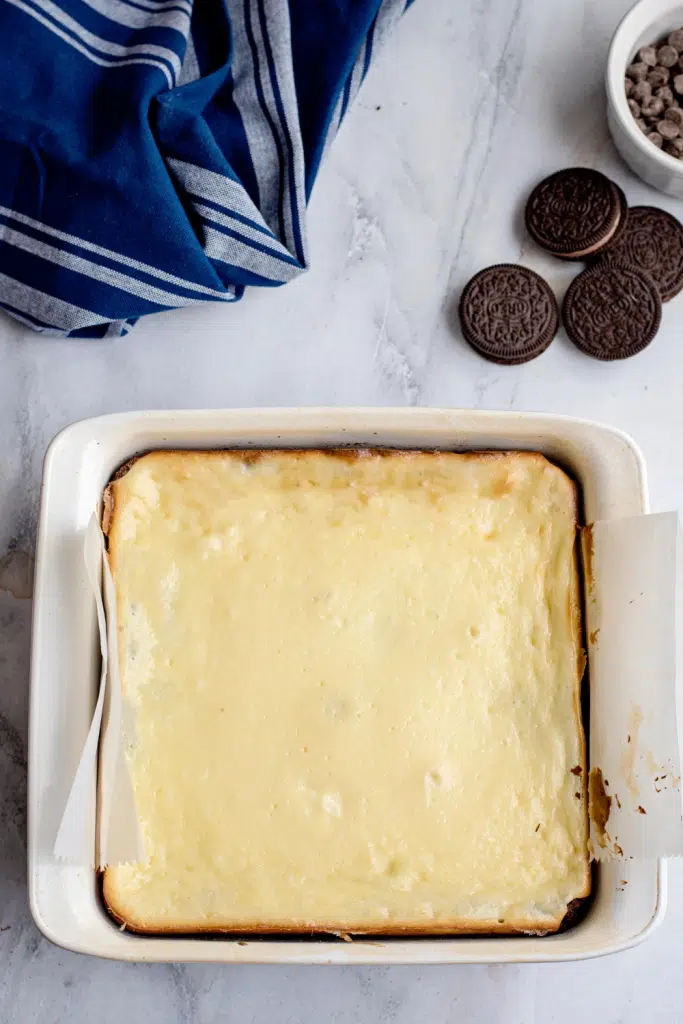
Return the pan to the oven and bake for 25–30 minutes, or until the center is just set. It should look firm around the edges and only have a slight jiggle in the center.
Let the bars cool at room temperature for about 30 minutes, then chill in the refrigerator for at least 1 hour.
Step 3: Add the Ganache and Toppings
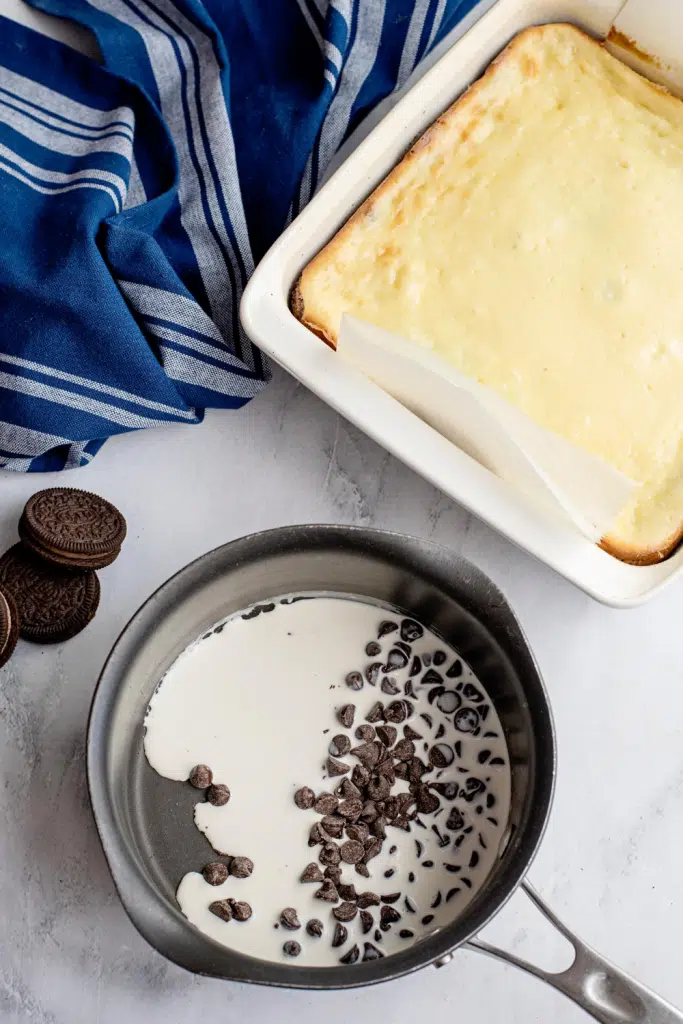
- In a small saucepan or microwave-safe bowl, heat the chocolate chips and heavy cream together until warm. Stir until smooth and glossy.
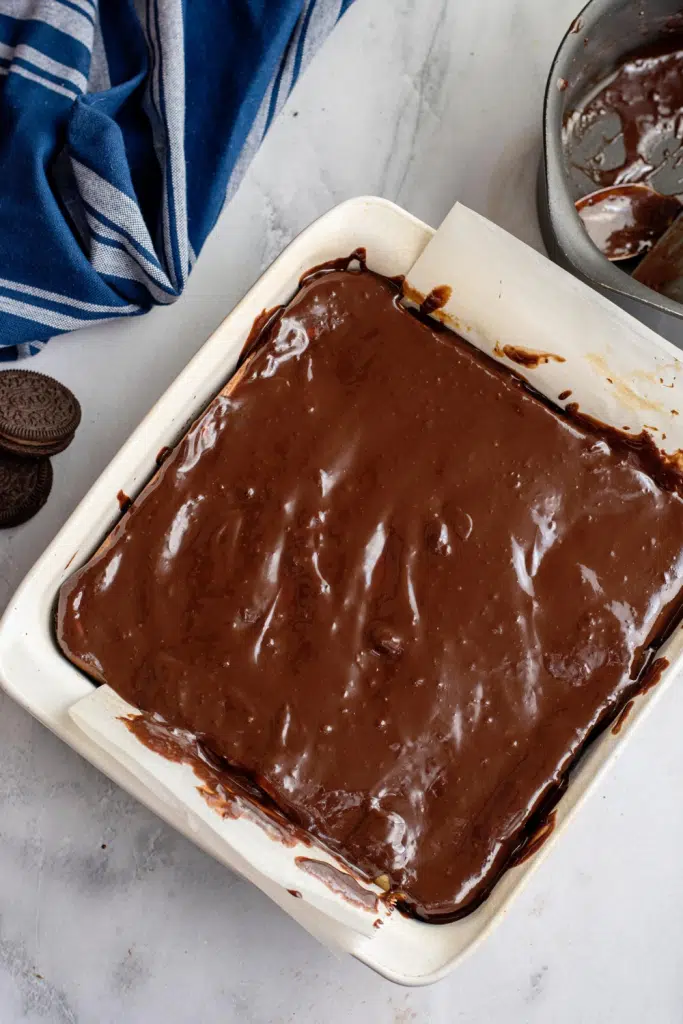
- Spread the ganache over the chilled cheesecake layer.
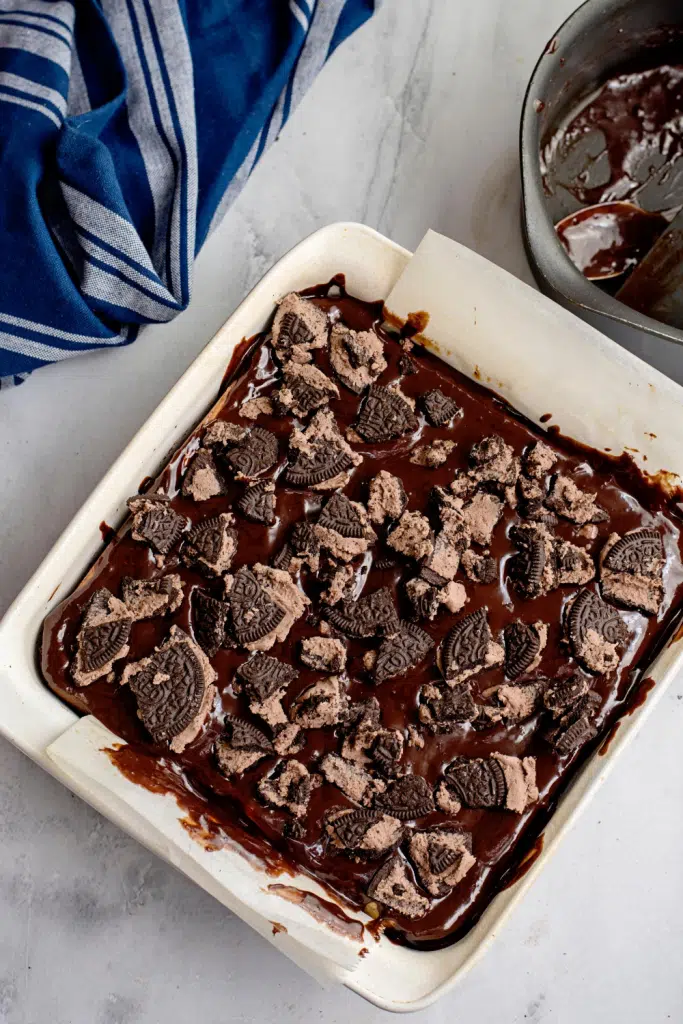
- Sprinkle the remaining chopped Oreos over the top. Press lightly so they stick.
Chill for another 2 hours, or until fully set. For best results, chill overnight.
Storage Tips from a Mom Who’s Made These Many Times
Refrigerator: Store these bars in an airtight container in the fridge for up to 5-6 days. I recommend layering parchment paper between rows to keep the topping from sticking.
Freezer: Yes, these bars freeze really well. Wrap individual bars tightly in plastic wrap and store in a freezer-safe container. Thaw overnight in the fridge before serving.
Make-ahead: These are perfect to make the night before a party or holiday. The texture actually improves as they sit and chill.
Quick Tips for Success
- Use room temperature cream cheese to avoid lumps in the filling
- Don’t overbake the brownie layer in step one…it will bake again with the cheesecake
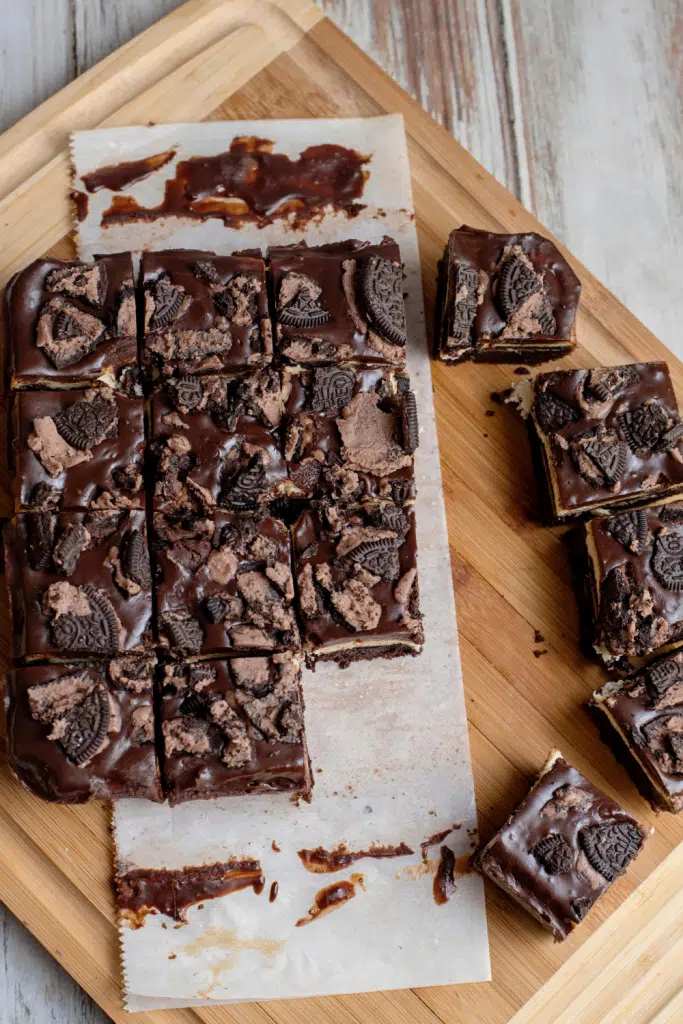
- Wipe your knife between cuts for clean edges
- Let them chill completely before slicing for the best texture
Variations: Try These Twists on Cheesecake Brownie Bars
Mint Oreo Cheesecake Bars
Swap the regular Oreos for Mint Oreos and add a drop of peppermint extract to the cheesecake layer.
Salted Caramel Version
Drizzle caramel sauce over the top instead of ganache and sprinkle with sea salt.
Holiday-Ready Red Velvet
Use red velvet brownie mix and peppermint Oreos for a fun Christmas variation.
The base recipe is so solid that it easily supports any flavor profile you want to try. Just don’t skip the cheesecake layer….it’s what brings the whole thing together.
FAQs About Brownie Cheesecake Bars
Can I make these ahead of time for an event?
Yes. I actually recommend making these a day in advance. It makes slicing cleaner and the flavor develops even more.
Do I need to use a boxed brownie mix?
Not at all. You can use your favorite homemade brownie recipe. I just reach for a box mix when I’m short on time and still want a great result.
Can I skip the chocolate topping?
Sure, but I find it adds the perfect finishing touch. If you’re looking to simplify, just dust the top with powdered sugar or leave the cheesecake layer bare.
How many bars does this recipe make?
You’ll get 24–30 bars, depending on how big you slice them. For parties, I like to cut them smaller so everyone gets a taste.
Why These Bars Go Viral Every Time
Let’s be honest. People love layered desserts. And when you give them the combo of brownie, cheesecake, and Oreo cookies in one bite, they go wild. These bars are Pinterest-perfect but made with real-life ingredients and tested in a real-life kitchen….mine.
They look fancy, but they’re manageable even on your busiest day. This is the kind of recipe that makes people think you spent hours in the kitchen, when really, you pulled it together between preschool pickup and bedtime.
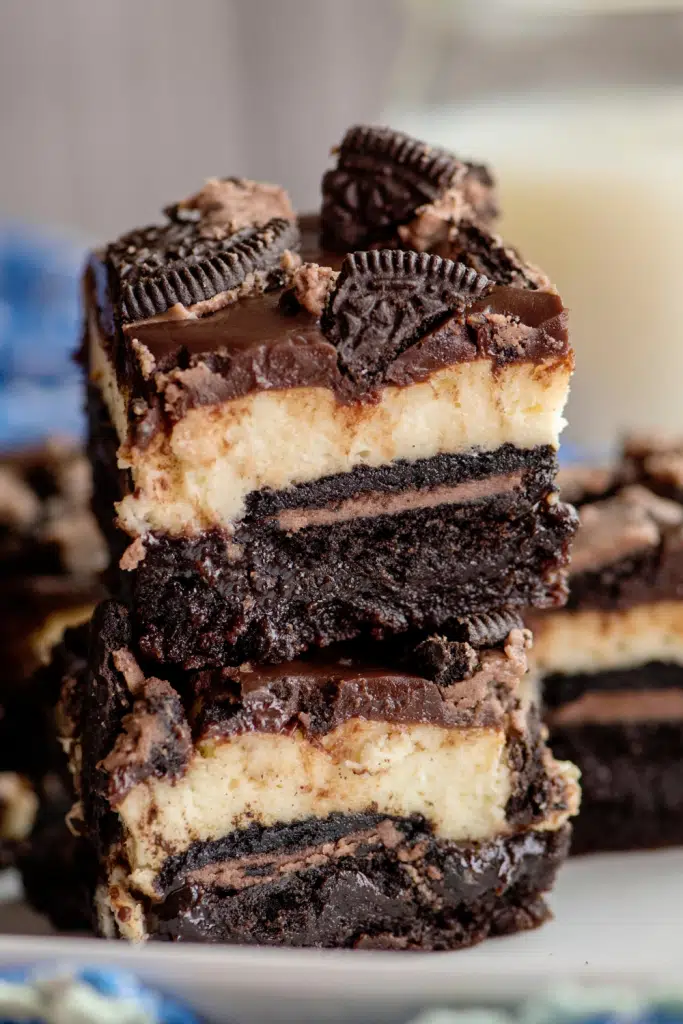
These brownie cheesecake bars are rich, satisfying, and layered with flavor and texture. Whether you’re making dessert for your family, a gathering with friends, or just treating yourself, they’ll become one of those go-to recipes that always gets compliments.
They’re mom-tested, kid-approved, and freezer-friendly. So the next time you want a showstopper dessert that doesn’t take hours to prep, give these Oreo cheesecake brownie bars a try.
Print the recipe, pin it for later, and let me know in the comments which flavor variation your family loves best.
Brownie Cheesecake Bars
These Brownie Cheesecake Bars feature a rich brownie base, a smooth cheesecake center, and an Oreo-studded chocolate ganache topping. A tested and reliable dessert bar recipe that's perfect for parties, gifting, or any time you want to impress with layered decadence.
Ingredients
- 1 box brownie mix for 9x 13 pan
- 22 oreos divided
- 8 ounces cream cheese softened
- 1 large egg
- 1 teaspoon vanilla extract
- 1/4 cup granulated sugar
- 2 Tablespoons sour cream
- 1/4 cup chocolate chips
- 1/4 cup heavy whipping cream
Instructions
-
Preheat oven to 350 degrees. Prepare an 8 inch baking pan with non stick spray or line it with parchment paper and spray the liner.
-
Prepare the brownie mix according to the directions on the box. Pour the batter into the prepared pan. Line the top of the batter with the 16 oreos and slightly push them into the batter. Bake this layer for 35-40 minutes, until the top is set but not completely done.
-
Prepare the cheesecake layer by beating the cream cheese in a medium bowl until nice and smooth. Add in the sour cream and sugar and mix again until combined. Add in the egg and vanilla and mix one more time until everything is incorporated.
-
Pour the cheesecake mixture all over the top of the brownies and spread to the edges.Bake for another 30-35 minutes, until the edges are a light brown color and the middle doesn’t jiggle. Remove and cool for 30 minutes before topping with the chocolate.
-
Prepare the chocolate. Place the chocolate chips and heavy cream into a small saucepan and melt over medium heat. Stir constantly. Once the chocolate chips are completely melted and mixed in with the cream remove the pan from the stove and spoon all over the top of the cheesecake layer. Crush up the remaining 6 oreos and place all over the top.
-
Refrigerate for at least 2 hours, longer if possible, cut and serve. Best if stored in the fridge.


These look delicious! I’m saving this to make with my kids.
They are SO good!!!